Upcycled Vintage Cutting Board: Easy Spring Cutting Board Decor
A worn breadboard, a hose clamp, and a mason jar of fresh blooms make a sweet spring wall hanging for your kitchen or porch.
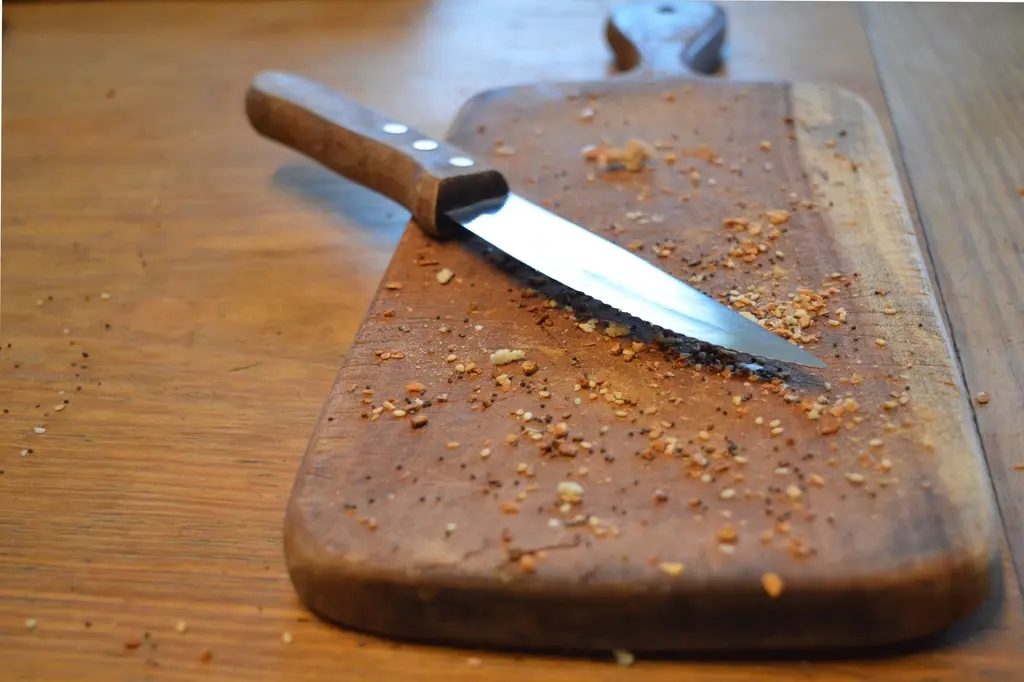
Old wooden cutting boards have a way of telling stories. Every knife mark, every worn-down edge, and that warm, honey-colored patina come from years of biscuits, pie crust, and Sunday suppers. This project gives one of those boards a fresh spring job: a hanging vase for tulips, daffodils, or whatever is blooming in the yard. It's simple spring cutting board decor that looks right at home in a farmhouse kitchen, on a porch wall, or by the back door.
The idea is easy: a stenciled message on the board and a mason jar held on with a hose clamp. In about an hour, a thrift-store board becomes something you'll want to keep up from March through May.
What you'll need
Tap to check items off as you gather them.
How to make it
Clean the board
Scrub with mild soap and a brush, rinse quickly, and let it dry fully. Lightly sand rough spots, keeping the knife marks and patina.
Plan your design
Decide where the jar will sit, usually on the lower half, and where a stenciled word or phrase will go above it.
Stencil the message
Tape the stencil in place and dab paint on with a nearly dry brush to avoid bleeding. Peel the stencil off while the paint is still slightly wet.
Mount the hose clamp
Open the clamp and screw it to the board through one of its slots using a short wood screw and washer, taking care not to go through the front.
Add the jar
Slip the mason jar into the clamp and tighten it with a screwdriver until the jar is snug but not straining.
Hang and fill
Tie a ribbon or strap through the board's handle hole, hang it securely, and fill the jar with fresh or faux spring flowers.
Finding a Vintage Board
Look for boards with some personality. Breadboards with a carved handle and a hole for hanging are ideal, but paddle-shaped boards, old pastry boards, and even small butcher-block pieces will work. Good sources include:
- Thrift stores and church sales. Wooden boards are common and usually inexpensive.
- Estate sales. Kitchens at estate sales often have stacks of well-loved boards. See our estate sale tips for where to look.
- Flea markets. Older, thicker boards with deep patina can cost a little more, and condition drives the price.
Skip boards with deep cracks that go all the way through, signs of mold, or a heavy sticky residue. A few knife marks and a small split at the end are fine and add charm. If you find several boards you love, our cutting board decor post has more year-round ideas.
Cleaning and Prepping Old Wood
Scrub the board with mild dish soap and warm water using a brush, then rinse quickly and stand it on its edge to dry. Don't soak it, since standing water can make old wood warp or crack. A paste of coarse salt and half a lemon is a time-honored way to freshen up a stained or smelly board.
Lightly sand just enough to remove roughness, but don't sand away the character. Once your board is painted or has hardware on it, it becomes decor only; don't use it for food again.
Spring Cutting Board Decor Design Ideas
The fun part is choosing the message and the blooms. Some favorite combinations:
- "Hello Spring" in simple black lettering with a jar of yellow daffodils.
- "Bloom Where You're Planted" with a mix of wildflowers from a walk.
- A family name and established year for a sweet entryway piece.
- No lettering at all: let the wood speak for itself and add a gingham bow at the handle.
- Herbs instead of flowers: fill the jar with cut rosemary, mint, or basil for a kitchen look that smells wonderful.
If you can't find a stencil you love, freehand lettering with a paint pen looks charming and handmade. Pencil the words in lightly first, then trace over them.
Stenciling Tips for Crisp Letters
Old wood is rarely perfectly flat, which can make stencils tricky. A few tricks help. First, wipe the board with a damp cloth to remove dust and let it dry. Tape the stencil down firmly on all sides, and press the edges of each letter down with your fingertip before you paint. Repositionable spray adhesive on the back of the stencil helps it hug uneven surfaces.
Next, use very little paint. Dip a stencil brush or makeup sponge in paint, then blot most of it off on a paper towel until it's almost dry. Dab straight up and down rather than brushing side to side, which pushes paint under the stencil. Two thin layers look much crisper than one heavy one.
If a letter does bleed a little, let the paint dry and lightly sand the edge or touch it up with a small brush. A slightly imperfect, hand-painted look is part of the charm on an old board, so don't worry about perfection.
Choosing the Right Jar
A pint mason jar is the most common size for this project; it holds enough water for a small bouquet without making the board too heavy. Old blue or aqua jars add a lovely pop of color, and their slightly wavy glass looks beautiful with the sun behind it. If you find a vintage jar, our guide to dating Ball mason jars will help you figure out roughly how old it is. Wash jars thoroughly before using them, and our post on how to clean old jars has tips for removing cloudiness and stubborn residue.
Variations to Try
Mount two or three smaller jars side by side on a long breadboard for a fuller look. Swap the jar for a small galvanized pail or a vintage creamer. Add a few small hooks to the bottom edge to hang keys or dish towels. Through the seasons, change out the stenciled message with removable vinyl letters and swap flowers for pinecones in fall or evergreen sprigs in winter.
Care and Safety Notes
A board with a jar full of water is heavier than it looks. Hang it from a sturdy nail or screw anchored in a wall stud, or on a picture hanger rated for the weight. Hang it where it won't get bumped, since a falling glass jar can shatter. Change the water every couple of days to keep flowers fresh and prevent odors, and wipe up drips so they don't soak into the wood. To protect the board long-term, rub the unpainted areas with a little food-safe mineral oil or board butter once or twice a year.
Frequently asked questions
What kind of cutting board works best for spring cutting board decor?
Breadboards with a handle and a hanging hole are ideal, but paddle boards, pastry boards, and small butcher-block pieces work too. Choose a board without deep through-cracks or mold.
How do I attach a mason jar to a cutting board?
Screw a stainless steel hose clamp to the board through one of its slots, slip the jar inside, and tighten the clamp with a screwdriver until the jar is snug.
Can I still use the cutting board for food afterward?
Once it's painted or has hardware screwed into it, it's best kept as decor only. Use a separate board for food prep.
How do I hang a cutting board with a jar of water safely?
Anchor the hanging nail or screw into a wall stud or use a hanger rated for the weight. Place it where it won't get bumped, and check the clamp occasionally to be sure the jar is snug.