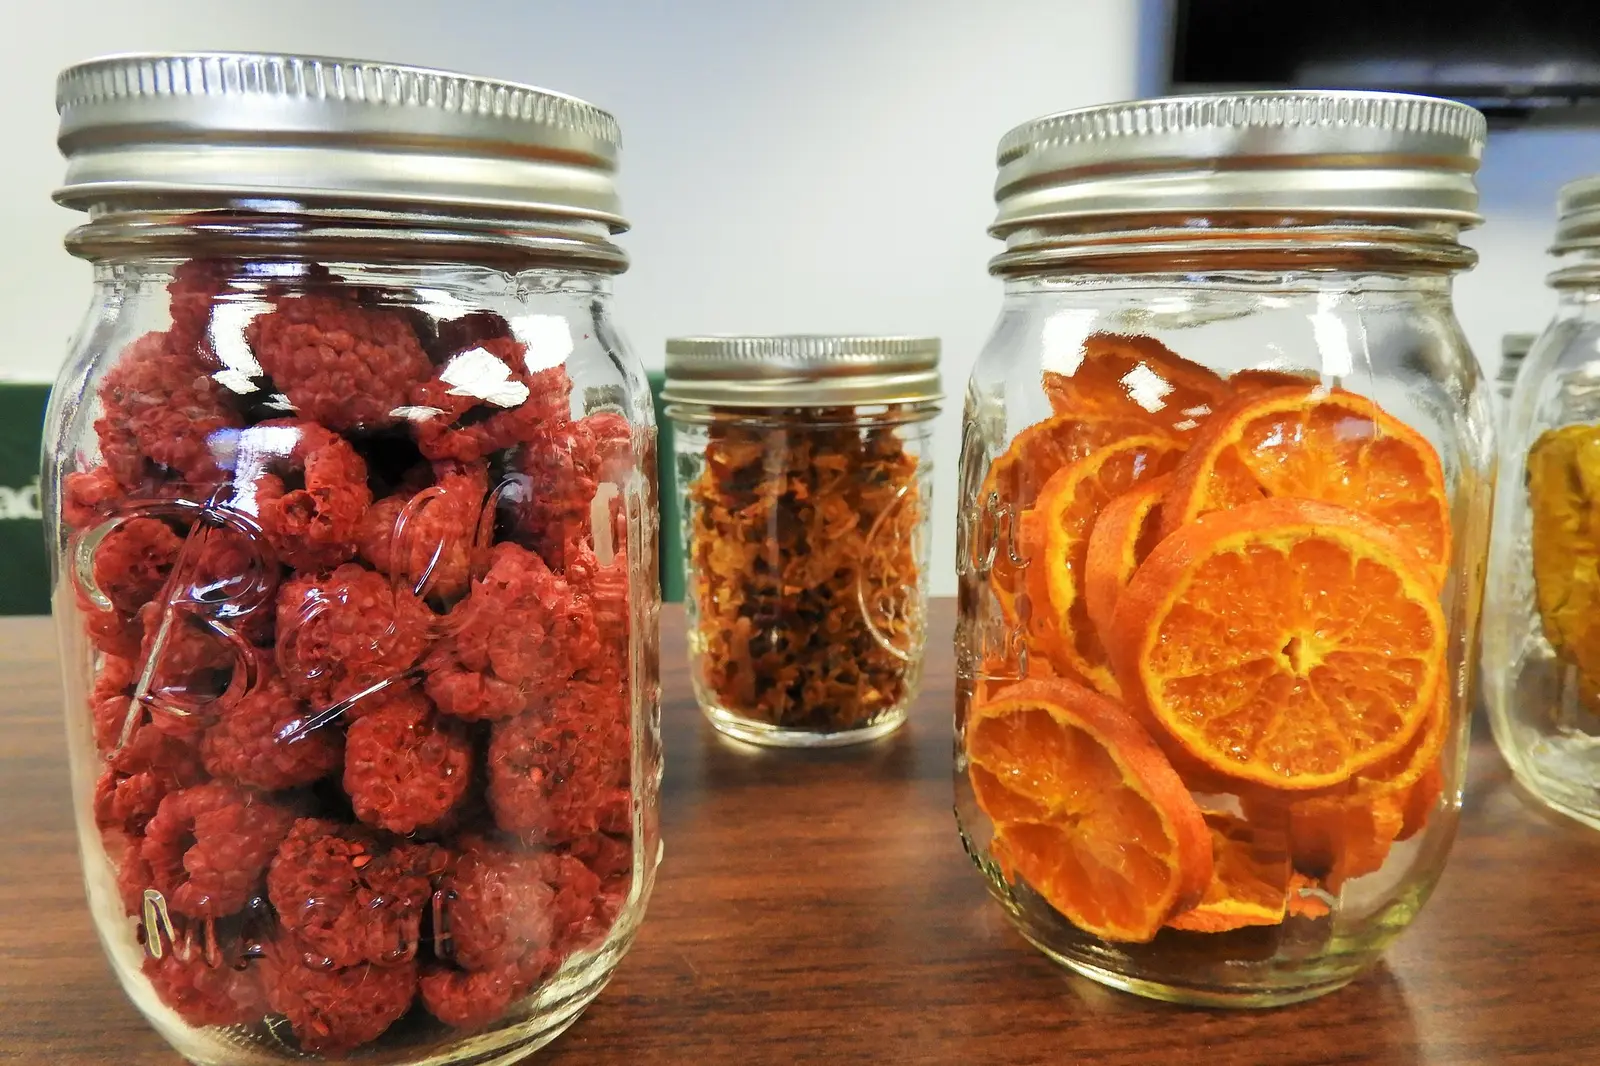
How to Clean Old Jars Without Damaging Them
Dusty, cloudy, or grimy? Here's how to clean old jars gently, from simple soaks to stubborn residue, plus what to do about cloudy sick glass.
You just brought home a box of old canning jars from a barn sale. They're dusty, cloudy, a little grimy, and maybe there's something dried in the bottom you'd rather not identify. Don't worry. Knowing how to clean old jars the right way will bring most of them back to a beautiful shine without risking cracks or damage. Here's our step-by-step approach, from the easiest methods to the toughest problems.
Before You Start: Inspect Your Jars
Take a minute to look over each jar before you clean it.
- Check for cracks and chips. Hold the jar up to the light and run your finger gently around the rim. Cracked jars can break during cleaning.
- Note the color and embossing. Colored and older jars deserve gentler handling, especially if they may be collectible. Our guide to vintage jars to look for can help you tell.
- Check what's inside. If a jar has old food, mystery liquid, or mold, empty it outdoors and wear gloves. Don't sniff or taste unknown contents.
- Let cold jars warm up. Jars from a cold barn or car should come to room temperature before they meet warm water.
What You'll Need
- Mild dish soap
- A plastic tub or sink lined with a towel
- Bottle brush and soft sponge
- Baking soda
- White vinegar
- Uncooked rice or coarse salt
- Soft cotton towels
- Rubber gloves
- Denture cleaning tablets (optional)
- Plastic scraper or wooden skewer
How to Clean Old Jars: The Basic Method
Most dusty and lightly dirty jars clean up with nothing more than a warm soak.
- Line your sink or tub. Place a towel in the bottom to cushion the glass.
- Fill with warm, not hot, water. Add a squirt of mild dish soap.
- Soak. Let the jars soak for at least 30 minutes, or overnight for dirtier jars.
- Scrub gently. Use a soft sponge on the outside and a bottle brush inside. Pay attention to the threads and embossing, where grime collects.
- Rinse well. Rinse with warm water.
- Dry upside down. Set jars upside down on a towel, then finish with a soft towel to prevent water spots.
Tackling Tough Problems
Hard Water Film and Mineral Haze
A white, chalky film is often mineral buildup from hard water. White vinegar is a great tool here. Soak the jar in a mix of equal parts warm water and white vinegar for an hour or more, then scrub with a bottle brush. For stubborn spots, fill the jar with straight vinegar and let it sit overnight.
Stuck-On Grime Inside
For dried residue in the bottom of a jar, add a handful of uncooked rice or coarse salt with a little warm soapy water, cover the opening with your hand or a lid, and shake well. The rice or salt acts as a gentle scrubber. For narrow-mouthed jars and bottles, this is often the best method.
A paste of baking soda and water also works well for scrubbing stubborn spots. Apply with a soft brush and let it sit a few minutes before scrubbing.
Denture Tablets for Stains
Denture cleaning tablets are a surprisingly effective trick for stained jars. Fill the jar with warm water, drop in one or two tablets, and let it fizz and sit for a few hours or overnight. Rinse well afterward.
Rust Stains Inside Jars
Rust rings often form where old metal lids sat on the jar. A vinegar soak or a paste of baking soda and lemon juice can help lift them. Gently scrape any remaining rust with a plastic scraper or wooden skewer. Avoid metal tools that can scratch the glass.
Old Labels and Sticky Residue
Soak the jar in warm soapy water to soften paper labels, then peel them off. For sticky adhesive, rub a little cooking oil on the residue, let it sit, then wash with dish soap. Of course, if the label is old and original, consider whether to keep it, since original labels can add interest and value.
Odors
Fill the jar with warm water and a few tablespoons of baking soda and let it sit overnight. Letting jars air out in fresh air and sunshine for a day also helps.
Embossed Lettering and Logos
Dirt loves to hide in raised lettering, logos, and the little ridges around the shoulder of a jar. After soaking, use a soft toothbrush and a dab of baking soda paste to work into the embossing, brushing in small circles. A wooden toothpick wrapped in a bit of cotton cloth reaches into tight corners without scratching. Rinse well and check the jar against the light; you'll be surprised how much crisper the lettering looks once the grime is gone. Clean embossing also makes it much easier to read the logo when you're trying to date a jar.
Painted or Printed Jars
Some later jars and kitchen canisters have painted or printed designs on the outside. Skip the soaking for these, since long soaks and vinegar can loosen or dull old paint. Wipe the outside with a barely damp cloth and clean only the inside with soapy water and a brush. Test any cleaner on a small, hidden area first.
What About Cloudy "Sick Glass"?
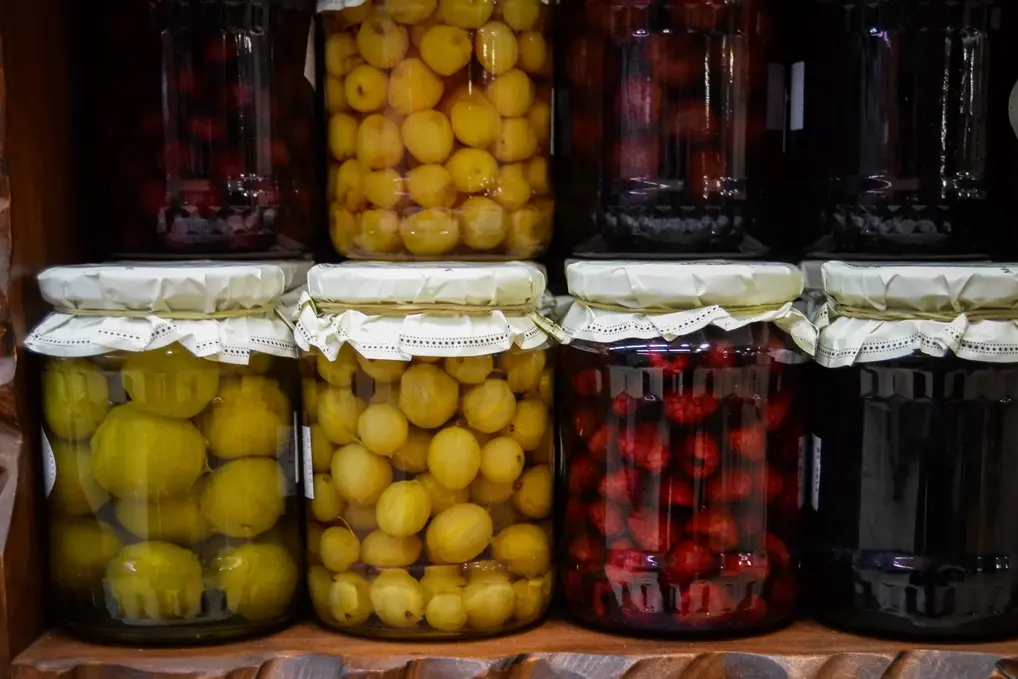
If your jar still looks cloudy after cleaning, you may be dealing with what collectors call "sick glass." This cloudiness isn't dirt. It's etching or damage to the surface of the glass, often from minerals, contents, or long exposure to moisture while buried or stored. Unfortunately, sick glass usually can't be fixed with household cleaning.
A few options:
- Embrace it. A soft, frosty look can be lovely for decor, especially with candles or fairy lights.
- Temporary shine. A light coat of mineral oil inside can temporarily reduce the cloudy look on display pieces, though it attracts dust and isn't suited to food use.
- Professional cleaning. Some bottle collectors use professional tumbling to polish glass. It can work well, but it isn't cheap and is best saved for valuable jars.
Cleaning Zinc Lids, Bails, and Glass Lids
Old zinc lids often have porcelain or milk glass liners, and they deserve gentle care.
- Zinc lids. Wash with warm soapy water and a soft brush. For heavy grime, use a baking soda paste. Avoid harsh scrubbing that removes the original patina, which many collectors prefer.
- Wire bails. Wash carefully and dry thoroughly to prevent rust. For rusty bails, see our guide on how to remove rust from vintage metal.
- Glass lids. Clean like the jars themselves, watching for chips around the edges.
Don't use old zinc lids or worn rubber rings for canning. Keep them for display.
Mistakes to Avoid and Safety Notes
- Never mix cleaning chemicals. Don't combine bleach with vinegar, ammonia, or other cleaners. Mixing them can create dangerous fumes. Rinse well between different cleaning methods.
- Skip the dishwasher for old jars. High heat and strong detergents can cause etching, fading, and thermal stress, especially on colored and older glass.
- Avoid abrasive pads and metal tools. Steel wool and metal scrapers can scratch glass.
- Don't rush temperature changes. Let jars cool or warm gradually.
- Don't over-clean collectibles. Aggressive cleaning can lower value, especially on lids, labels, and painted jars.
Safety Notes
- Wear rubber gloves when cleaning jars with unknown residues or mold.
- Handle chipped or cracked jars carefully, and recycle or retire badly damaged glass.
- Work in a ventilated area when using vinegar or other cleaners.
- Use modern jars and new lids for canning. Old jars are best kept for decor and dry storage.
Storing and Using Your Clean Jars
Make sure jars are completely dry inside before you store or display them, because trapped moisture can leave new water spots or a musty smell. Store them upright with lids off or loosely set on top so air can circulate, and keep them out of spots where they might get bumped. If you're stacking jars in a box, wrap each one in newspaper or a dish towel so the glass doesn't knock together.
Once your jars are sparkling, the fun begins. Line them up on a sunny windowsill, fill them with pantry staples, or use them for flowers and candles. They make wonderful homes for homemade cleaning supplies too, like our 3 ingredient laundry detergent, as long as you label them clearly. Looking for project ideas? Try our Ball jar decor DIY.
Frequently asked questions
How do you clean old jars without breaking them?
Use warm, not hot, water with mild dish soap, line your sink with a towel, and let jars come to room temperature before washing. Avoid sudden temperature changes, and scrub gently with a bottle brush instead of metal tools.
How do I get the cloudy film off old glass jars?
If the film is hard water buildup, a soak in warm water and white vinegar usually removes it. If the jar stays cloudy after cleaning, it may be etched "sick glass," which usually can't be fixed with household methods.
Can I put vintage jars in the dishwasher?
We don't recommend it. High heat and strong detergents can etch, fade, or stress older glass, especially colored jars. Hand washing is safer.
How do I remove rust stains from inside a jar?
Soak the jar in white vinegar or apply a paste of baking soda and lemon juice, then scrub gently. A plastic scraper or wooden skewer can help lift remaining rust without scratching the glass.
Is it safe to can with old jars?
We recommend using modern canning jars and new lids. Older jars may have hidden flaws, and older closures aren't designed for current recommended canning methods.