Easy Vintage Photo Holder Shelf Sitter From Scrap Wood
A scrap of old wood and a single saw cut make a simple shelf sitter that shows off old family snapshots and flea market photos.
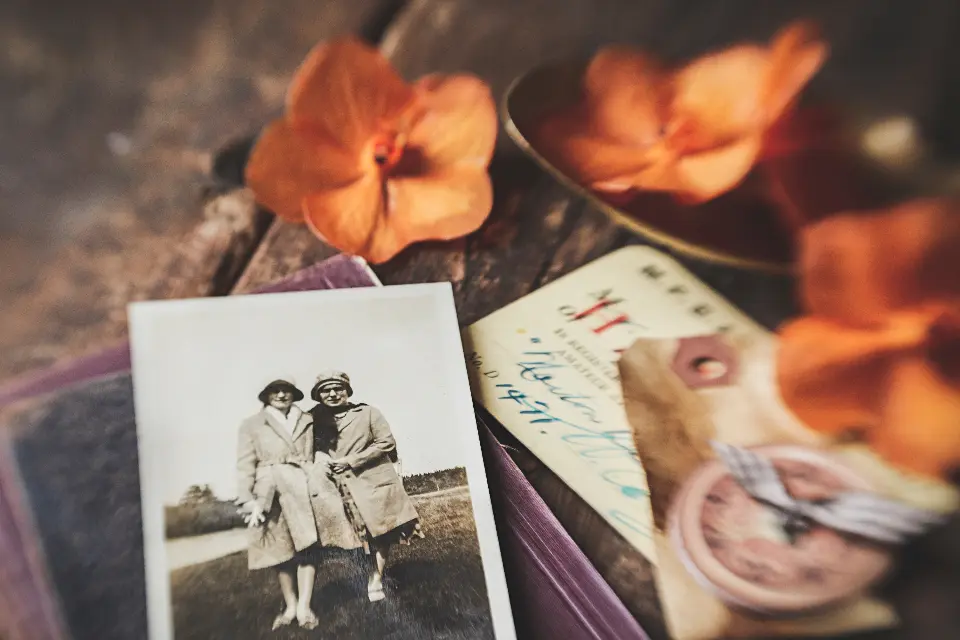
Most of us have a shoebox somewhere full of old family photographs, and flea markets are loaded with orphaned snapshots of strangers in their Sunday best. A simple vintage photo holder gets those pictures out of the box and onto a shelf where they can be enjoyed. This shelf sitter is nothing more than a block of scrap wood with a slot cut in the top, but with a little paint and some distressing, it looks like something you'd find at an antique mall.
It's a great beginner woodworking project because it only takes one or two cuts, and it's a good use for those offcuts that pile up in every garage. Make one for a single favorite photo, or make a row of them in different heights to line a mantel.
Grab a piece of scrap wood and follow the supplies and steps below.
What you'll need
Tap to check items off as you gather them.
How to make it
Cut the block
Cut your scrap wood into a block about 3 to 6 inches long, making sure both ends are square so it sits flat.
Mark the slot
Draw a straight line across the top of the block, roughly a third of the way back from the front, so photos will lean slightly back.
Saw the slot
Saw along the line to a depth of about 1/2 to 3/4 inch, letting the saw's own width form the slot. Test with a photo and widen with a second pass only if needed.
Sand the edges
Sand all sharp corners and the inside of the slot lightly so it won't scratch prints, then wipe away dust.
Paint or stain
Apply a coat of chalk-style paint or stain and let it dry. For a timeworn look, sand the corners and edges back to bare wood.
Seal
Rub on paste wax or brush on a clear matte sealer to protect the finish and keep it from rubbing off on photos.
Add your photo
Slide a copy of your vintage photo into the slot, add felt pads underneath, and set it on a shelf, mantel or windowsill.
Finding the Right Wood for a Vintage Photo Holder
The block can be just about anything, but older wood gives it instant character. Some of our favorite sources:
- Barn wood and old fence posts. Weathered gray wood with nail holes looks wonderful under black and white photos.
- Old spindles and newel posts. A chunky section of a stair part or porch post can be cut flat on one side to make a decorative holder.
- Wooden thread spools. Large vintage industrial spools have a nice turned shape; saw a slot in the top rim.
- Old alphabet or toy blocks. Spell out a name or a date across a row of photos.
- Scrap 2x4s. Perfectly fine and easy to paint and distress.
If you're using salvaged wood, check for nails and staples before you cut. Hitting hidden metal with a saw is dangerous and dulls the blade. Painted salvage from before 1978 may contain lead paint, so test before sanding or choose a different piece.
Protecting Your Original Photographs
Old photos are irreplaceable, and a shelf is not the gentlest home for them. Light fades prints over time, and dust, humidity and fingers aren't kind either. We strongly recommend scanning your originals and displaying copies instead.
- Scan at a high resolution so you can print copies at any size later.
- Print copies on matte photo paper or a cream cardstock for a softer, older look.
- Store the originals flat in acid-free sleeves or boxes in a cool, dry closet, not in a hot attic or damp basement.
- Handle originals by the edges with clean, dry hands.
Design and Styling Ideas
A single photo holder is sweet, but a little grouping makes a real statement. Try cutting blocks of three different heights and arranging them along a mantel with a stack of old books, or set one on each step of a tiered tray.
Finish ideas:
- Chippy white. Paint the block cream or white and sand the edges heavily for a farmhouse feel.
- Weathered stain. A gray or driftwood stain looks great with sepia photos.
- Stenciled numbers. Add a year or a house number on the front in faded black.
- Book page wrap. Decoupage a piece of old sheet music or hymnal page on the front. Our tea stained hymn pages post shows how to age paper first.
Think about scale as you go. A small wallet-size snapshot looks best in a short, narrow block, while a 5x7 cabinet card needs a heavier base so it won't tip forward. As a rule of thumb, make the block at least as wide as half the photo's width and a good inch and a half deep. If a tall photo still wobbles, cut the slot a little deeper or angle the saw slightly backward so the picture leans into the block.
For a seasonal touch, swap in a vintage valentine card in February or a postcard of the beach in summer. These holders work for recipe cards, place cards and little notes, too.
Variations to Try
- Yardstick sitter. Glue short pieces of an old wooden yardstick around a block for a measuring-tape look. See our yardstick decor project for more ideas.
- Clothespin holder. Instead of a slot, glue an old wooden clothespin to the top of the block to clip photos.
- Wire holder. Drill a small hole and insert a twisted loop of craft wire to hold a photo upright.
- Long shelf sitter. Cut a slot across a long board to hold a row of photos side by side.
Sourcing Old Photos
If you don't have family photos to use, flea markets, antique malls and estate sales almost always have bins of old snapshots, cabinet cards and postcards. Prices vary, but loose snapshots are typically inexpensive, while studio cabinet cards, tintypes and real photo postcards with interesting subjects usually bring more. Condition and subject matter drive value. Our estate sale tips post covers how to dig through boxes like these without missing the good stuff.
Care and Safety Notes
A finished holder with a copied family photo also makes a thoughtful, inexpensive gift. Make a set for siblings or cousins, each holding a print of the same grandparents' wedding portrait, and wrap them in brown paper and twine. They're especially nice for family reunions, Mother's Day and milestone birthdays.
Use a saw carefully and clamp small blocks rather than holding them with your fingers near the blade. Wear safety glasses when cutting and a dust mask when sanding. Keep finished holders out of direct sun to slow fading, even on copies. A quick dusting with a dry cloth is all they need.
Frequently asked questions
Should I display original vintage photos?
It's better to display copies. Light, humidity and handling all cause old photos to fade and deteriorate, so scan the originals, print copies to display, and store the originals in acid-free sleeves in a cool, dry place.
How wide should the slot be?
For most photo paper or cardstock, a single pass of a standard hand saw or miter saw blade is wide enough. If the photo is thicker or mounted, make a second cut right beside the first and clean it up with folded sandpaper.
Where can I find old photographs?
Flea markets, antique malls and estate sales commonly have bins of loose snapshots, postcards and cabinet cards. Family members are often the best source of all, so ask relatives if you can scan their albums.
Can I make this without a saw?
Yes. Glue a vintage wooden clothespin on top of a block, or drill a small hole and insert a twisted wire loop to hold the photo instead.